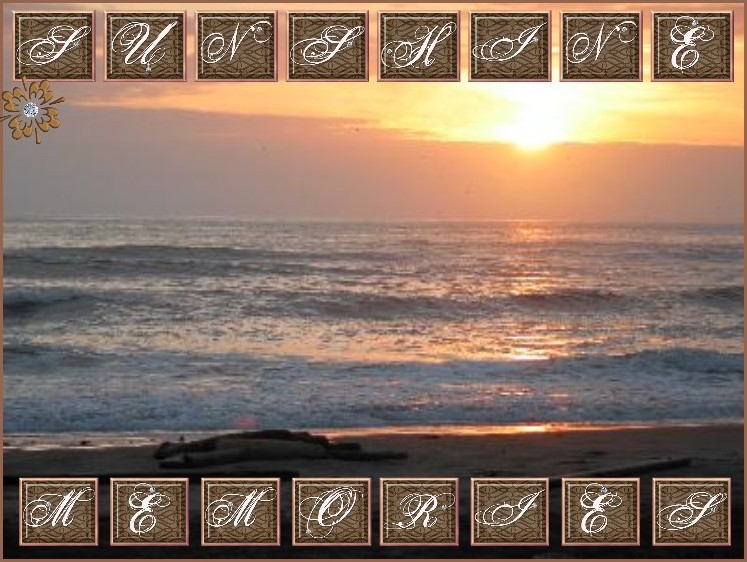
Coasters:
Scrapbook pages aren't just for the traditional scrapbooking. They are so versatile and so cheap.These
are great gifts for teachers--think coasters for their cup of coffee.
Great gifts for grandma and grandpa. Great neighbor gifts, great coaches
gifts and they add that personal touch to your vacation home.
Here is what you need for version one.
- Your personalized 12x12 scrapbook page
- 4x4 tiles from home improvement store (get the cheap ones)
- Modge Podge (sold at crafts stores--I like the Matte finish)
- Sponge paint brush
- A hard edge (ruler, credit card, scraper, etc.)
- Newspapers
- Design your project, publish, order and watch the mail.
- Gather your supplies.
- Cut the scrapbook page and measure each cut on a dry tile to make sure it fits. Sometimes 4x4 tiles are a little shy of 4 inches. Adjust image as needed.
- Spread the newspaper out to cover your work surface.
- Following the direction on the Modge Podge, spread a think layer on the front side of the tile.
- Carefully place the cut out scrapbook image on the tile as you desire.
- Follow the direction on the Modge Podge bottle to adhere your image to your tiles by spreading a thin layer of Modge Podge on the tile.
- Using the credit card (or another hard edged utensil) smooth out any bubbles in your design.
- Let it dry and then put on a thin second coat making sure to remove any bubbles again.
- Let dry.
- Enjoy
Here is what you need for version two.
- Your personalized 12x12 scrapbook page
- Tiles from home improvement store (get the cheap ones)
- Glue Stick
- A hard edge (ruler, credit card, scraper, etc.)
- Newspapers
- Design your project, publish, order and watch the mail.
- Gather your supplies.
- Cut
the scrapbook page and measure each cut on a dry tile to make sure it
fits. Sometimes 4x4 tiles are a little shy of 4 inches. Adjust image as
needed.
- Spread the newspaper out to cover your work surface.
- Using the glue stick, liberally cover the back of your image.
- Place it carefully on your tile as you would like the finish product to be.
- Let dry.
- Enjoy

Specifics:
Project: 12x12 scrapbook page
Membership: Premier
Design: original
Retail: $4
The possibilities are ENDLESS!
and the gifts are PRICELESS!!!
No comments:
Post a Comment